Table of Content
Nearly all DIY systems can be self-monitored using a mobile app that allows you to arm and disarm the system remotely, monitor sensor status, and view live and recorded video. You'll get push alerts when a sensor is triggered, but it's up to you to contact the local authorities if there's a break-in or a fire. Solder the humidity and temperature sensor’s power pin to the 5V pin of the 5V step-up breakout. 2) I found that the temperature and humidity values were correct while the device was connected to the host via USB, but when subsequently connected via WiFi, the readings were incorrect. For example, the temp changed from 78 F to 12 F, so not a matter of the wrong units. I discovered that running the “update all” command on the WSPHome web UI fixes it.
On the contrary, when you close the door, the reed switch will close pushing the LOW status to D3. They are optional but I like to use the screw terminals for the battery. In my experience, the power supply is less stable when I don’t use them. Pinheaders and Jumpers are optional and I generally don’t put them in. As you probably know, the voltage on a battery drops with its usage.
Adjusting the display brightness
The Honeywell Home model I’m using in my build is just $79 and also compatible with Brilliant, but has less features than Ecobee. Control4 offers just one thermostat option, the Wireless Thermostat by Aprilaire for $345. By comparison, both Control4’s entry-level wall panel and entry-level tablet cost $950, but you hypothetically only need one or the other. I personally prefer a stationary, in-wall screen, yet you might be attracted to the freedom Control4’s tablets allow.
Cove does not offer self-monitoring, meaning you’ll always be tied to the monthly payment plan that comes with continuous monitoring. But if that’s not a deal-breaker, there are some good reasons to look into it. Pricing for DIY security systems varies from company to company and will depend on the size of your home and the number of sensors and add-on components that you order.
DIY home security system FAQs
Frequented businesses and busy offices are viable candidates for the professional set up, too. The iota is also one of the only security systems that works with Apple HomeKit. It's a good idea, but you can't do as much with the camera as you can with standalone wireless security cameras, which limits its effectiveness. But with a number of affordable options out there, which is the best? We installed the leading DIY security systems in our own homes to find out which is the best. Sensors and Actuators are the bread and butter of Home Automation.
These devices will record video when the doorbell ringer is pressed or when motion is detected, and in most cases can be programmed to trigger other system devices such asdoor locksand interior cameras. Due to the use of a special version of the controllerwhich forwards things onto the MQTT server, it lacks the standard controller feature that would assign node IDs to each new node automatically. After all that check the data pin for the DHT11 sensor is correct.
Best DIY Home Security Systems for 2022
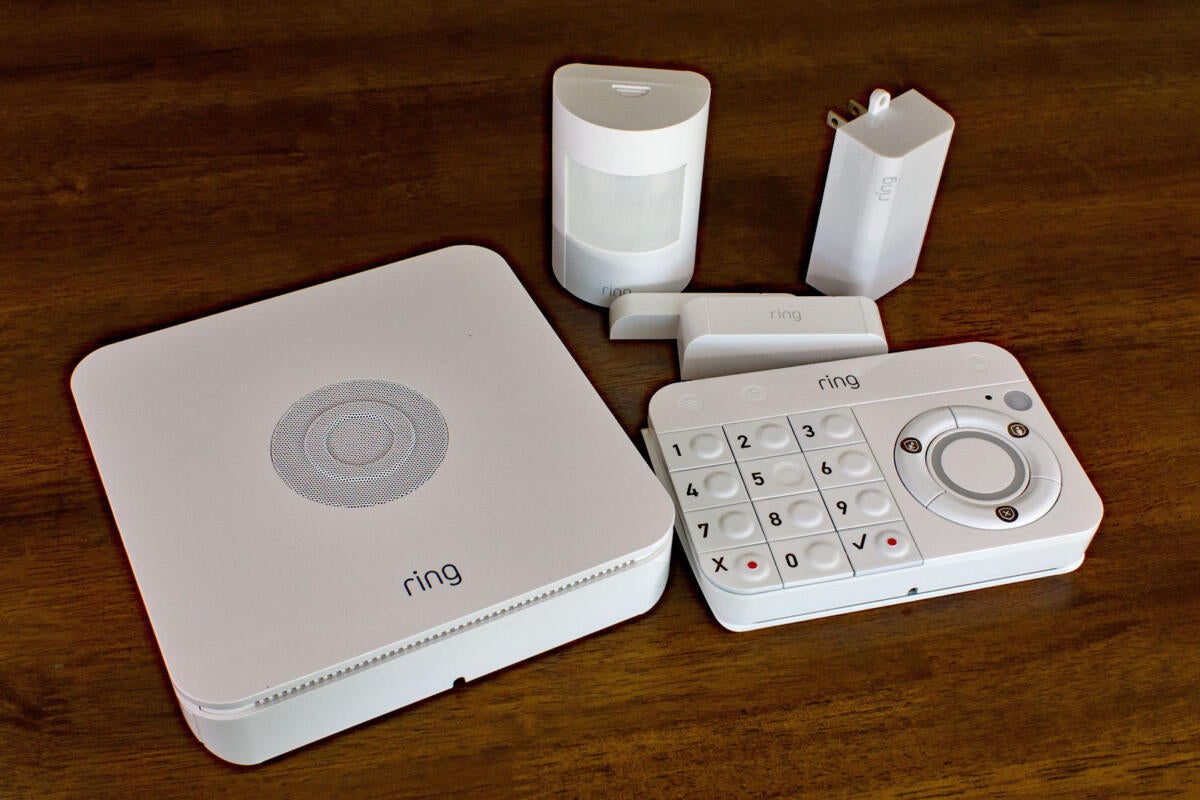
The system works well and comes with all of the expected components like door/window and motion sensors, a hub, and a wireless keypad. A key fob is an additional purchase, but you can arm/disarm the system via the companion app or voice control with Alexa and Google Assistant, something not every system we’ve tested has. As one might expect from Ring, there’s no integration with Google Assistant or Apple’s Siri. With Alexa voice control, you can arm/disarm the system (a handy feature since there’s no key fob) and manage the status of your system. Ring’s system also supports Alexa Guard, which uses your Echo speakers to listen for possible emergencies like glass breaking and smoke/carbon monoxide detector alarms.
The idea used is to create a separate mesh-capable network just for the Arduino instead of adding it to the crowded local network using expensive Ethernet shields and unreliable WIFI. Using single gateway node containing Ethernet and radio connection to other Arduinos, a bridge is created to the local network. The sensor nodes made are used to gather data while the gateway node relays the data onto the OpenHAB server. For the making process to be successful, Arduino Uno, Ethernet shield andNRF24L01 are required.
How to install ESPHome on the D1 Mini
Some jumper wires to connect everything plus connectors or soldering iron with some basic soldering skills if you don’t use a connectors. We were unimpressed by the alarm sound, which sounds more like an alarm clock going off than a siren meant to deter intruders or alert you to a problem. Ecobee’s alarm system is a viable option if you’re on a budget and only want self-monitoring capabilities, but you’ll need to look elsewhere for better services.
Therefore, to avoid any conflicts, it is suggested that the current libraries folder to be backed up and replaced with the ones from the download package. This Control4 price list I referenced doesn’t include rates for security cameras, although I’m sure you can assume they’ll cost more than Ring ones. The reader also mentioned they’ve used Schlage smart locks in the past. The Schlange Encode, which I’m using in my smart home, costs $250.
This means that as soon as the voltage of the battery drops below 2.9v your node will be rendered useless. Use the Arduino 3.3v version, the power consumption is significantly lower than the 5v version and this project doesn’t require 5V anyway. Most of the items come in packages with several units so you will be able to build several sensors with them. As a DIY person, you are probably comfortable with the idea of protoboards placed in conspicuous locations of your house. Such was the case with one reader, who, after seeing my DIY smart home series, asked for my thoughts after being quoted $6,000 for a smart home control system. The beginner's bundle is a bit slim in its accessory offerings, but you can choose from a host of other packages and purchase additional sensors separately.
You don’t want to discover that it ran out of battery when you needed it the most. There you go, your network of DIY Home Automation Sensors is up and running. If you find any issue while going through the tutorial please post some comments. The second step will get you geared up with the MySensors Gateway. Like the first part, you will only have to do this for the first node. There are ways to extend the range of your sensors but I will reserve that for a future post.
The first thing that I did was to cut the box a little bit, so I can fit the display, the PH Sensor connector and the Micro USB cable. After that, we will need a LCD display + I2C module that is going to display the PH reading of our Smart DIY PH Sensor. Additionally, make sure to use a unique, strong password composed of multiple characters, numbers, and letters for each of your smart home accounts. Data breaches feel like the norm as of late, making it all the more important to use different passwords across multiple websites and apps. Reviewed's mission is to help you buy the best stuff and get the most out of what you already own. Our team of product experts thoroughly vet every product we recommend to help you cut through the clutter and find what you need.


No comments:
Post a Comment